Tag Archives: craft idea

Friday Crafternoon- Braided Paper Bookmarks

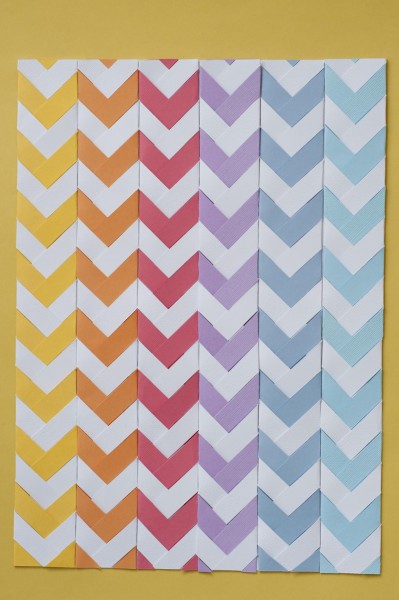
Last week, we had a Grab-N-Go craft here at the library that featured this craft idea. It’s super simple, you probably already have the supplies at home, and the color combinations are endless! If you like to give books as gifts, these are the perfect accessory to go with it!

chevron

(photo credit: scrapbooksetc.com/blogs/iscrapuscrap)

Friday Crafternoon- Corner Bookmarks

If you weren’t able to make it to the Teen Room yesterday to pick up a grab-n-go craft kit for bookmarks, here is a great tutorial for one of the styles included in the kit! This tutorial is nice because it gives you tips for a very simple version, and then a much nicer and sturdier version. All you need for these are scissors, paper, and glue!

bookmarks

(photo credit: http://tallystreasury.com)

Friday Crafternoon- Colorblocked Candles

Have a bunch of old crayon stubs laying around? There are tons of cool crafts out there that use crayons, but this one makes a really unique decoration (and gift!) and the color combinations are endless. It doesn’t require a lot of supplies or prep, either, and what you do need can be found at craft stores for cheap. A tip: buy some essential oils to mix in with the wax and you’ll have a cool candle that smells great, too!

crayon candle

(photo credit: http://www.brit.co/color-block-candles/)

Friday Crafternoon- White Crayon and Watercolor Art

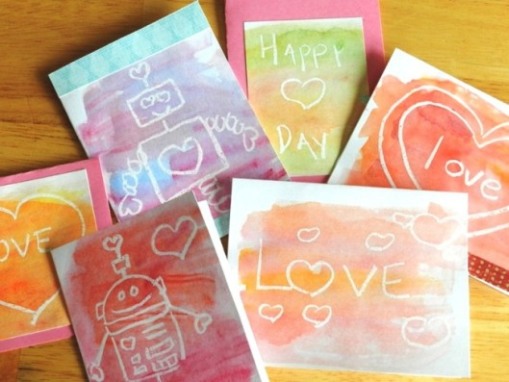
This craft is SUPER simple and uses stuff you might already have in the house! Gather up your watercolor paints, a paintbrush, a white crayon, and some paper. Draw something out on the paper in white crayon. Paint over the paper with your watercolors, and watch how the white crayon magically resists the paint to create a beautiful negative space picture! This is also a really cool way to leave someone a secret message. Check out examples that this library did for some inspiration.

whitecrayonwatercolor

(photo credit: http://growcreative.blogspot.com)

Friday Crafternoon- Custom Magnets

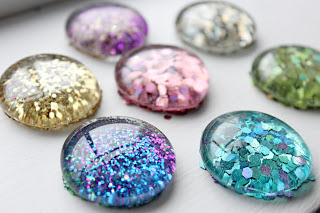
The new school year might seem a long way off, but it’s definitely not too early to start doing fun crafts for your locker. Lucky for you, it is SUPER easy to make cool custom magnets and it won’t break the bank! You will find the basic supplies- plain round magnets, small clear glass stones, and glue- at your local craft store. Cut out a small picture the size of the flat side of the stone and glue it to the stone. Then, glue your magnet to the picture, and there you have it: a completely unique magnet! You will end up making a ton, so share them with friends as a back-to-school gift or even send them away to college with someone. Here is another cool idea for the same basic magnet- glitter!

glittermagnet

(photo credit: deloop-deloop.blogspot.ca)

Friday Crafternoon- Button Flowers

Summer flowers inspire happiness through August, but how can you capture the bright, cheerful mood of a flower year-round? There’s always duct tape flowers, but this craft is a great new take on the fake bloom. Craft stores will have all kinds of cool buttons, and the wire you need for the stems, but this would also be a really great project if you have family heirloom buttons that you’d like to turn in to a cool gift! Check out the visual instructions here, or in the photo below.

button flowers

(photo credit: http://www.saifou.com)


Friday Crafternoon- T-shirt Scrap Pillow

Here is another great project if you have a ton of old t-shirts that you can’t bear to throw away! At this website you can see instructions to do this with lots of sewing tools, but there is a simpler way if you don’t have those tools on hand. Cut the t-shirt up in to scraps of the parts you want to save. Cut little slits all around the four edges of the scrap. Tug on the fringe pieces that are created by the slit snips, until they stretch out and get longer. Then, tie the fringes to the fringe of another scrap piece. Measure out the scraps so you will end up with two perfect squares of the same size. Then, tie together three of the large square’s edges and HALF of the fourth edge. Take some stuffing (sold at craft stores!) and fill your new pillow case to the fluffiness level you want. Then, tie up the remaining ends, and lay pack on your new custom pillow!

Below is a photo of the sewn version, but it should look pretty similar to this if you use the tying method. Enjoy!

Tshirt-Rag-Quilt-Pillow

(photo credit: fiskars.com)